Old Removed tabs
- IT Support
GENERAL LEDGER
3. To input entries into the ‘General Ledger’, click on '+ Add Ledger' and an empty row with its corresponding portfolio name will appear in the table. You will then be able to fill in the information by double-clicking the individual field(s) and filling it in accordingly.
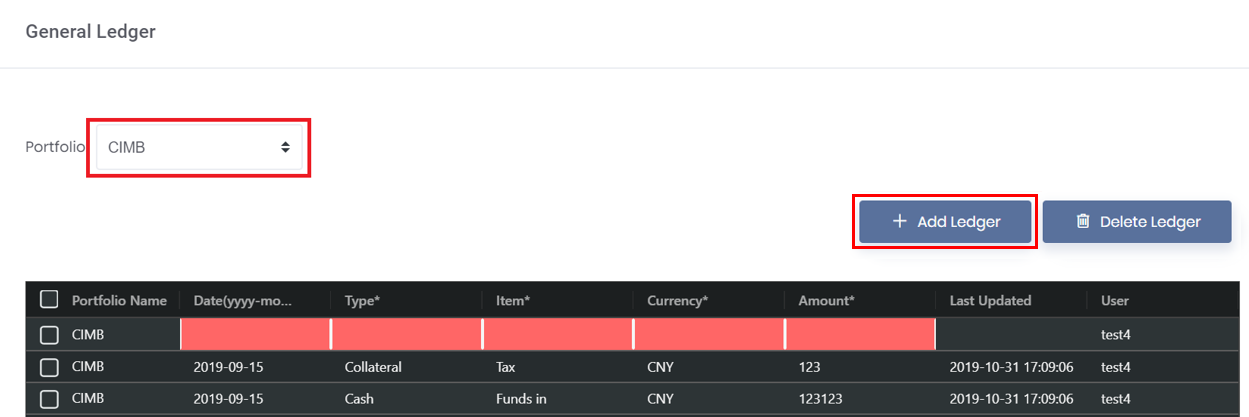
4. You are also able to edit any information (with the * sign) previously entered into your ‘General Ledger’. Simply double-click on the chosen field and edit accordingly.
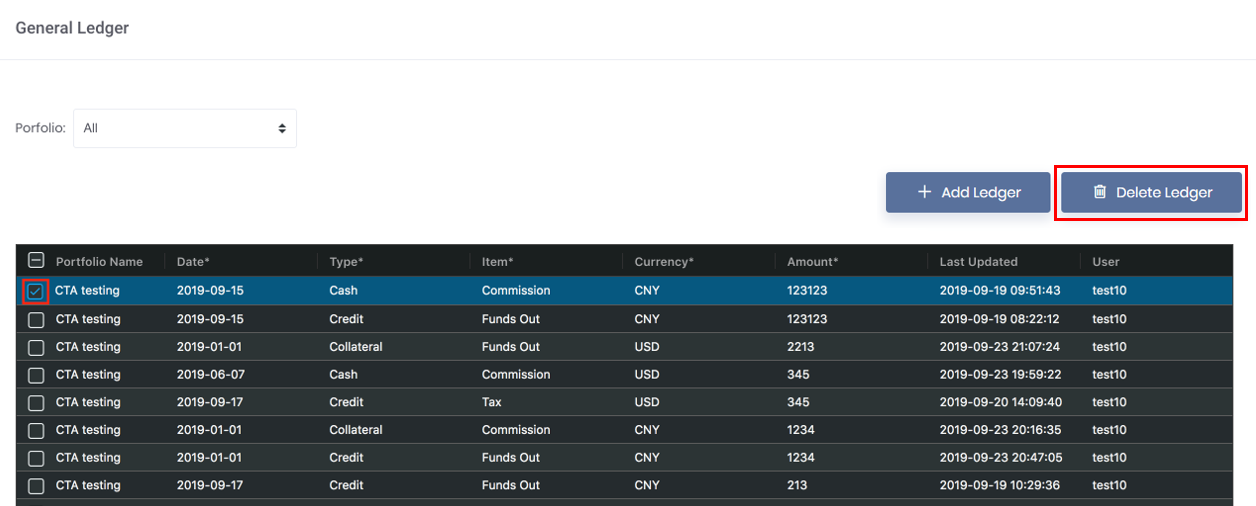
5. If you will like to delete a ledger row, click on the row's checkbox located on the extreme left of the table. Click on 'Delete Ledger' located on the top right corner of the page, and click on 'Yes, delete!' in the pop-up message. Do note that this is an irreversible action. If you do not wish to delete the row, click on 'No, cancel!'.
EDIT PORTFOLIO
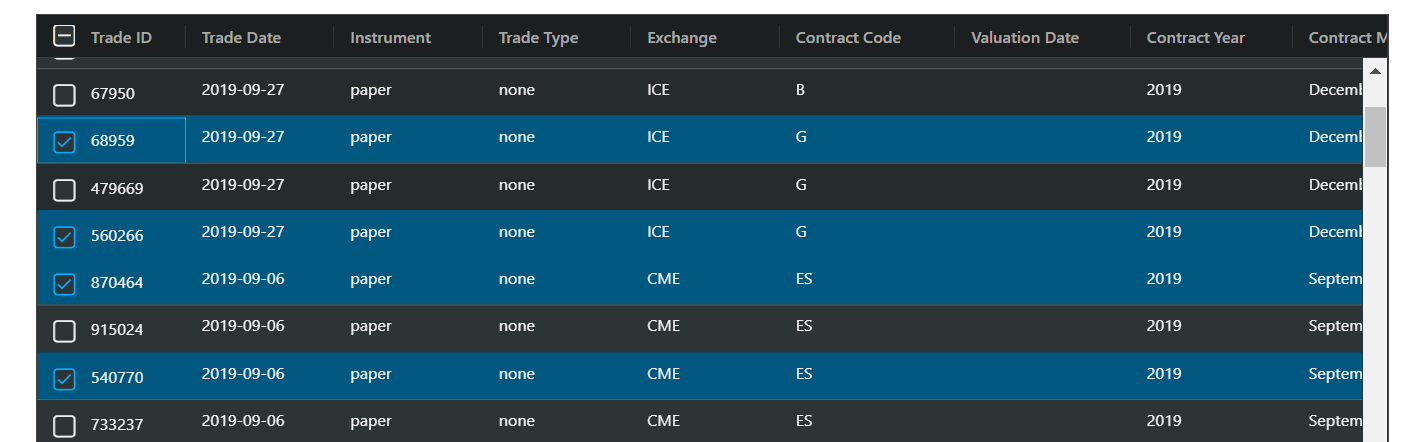
Any trades that are in the portfolio will be highlighted in blue. If you wish to remove any trade(s), tick the checkbox (represented by a 'blue box with a tick' ![]() icon) and it will be removed from the portfolio.
icon) and it will be removed from the portfolio.
If you wish to allocate any other existing trade(s) into your portfolio, select the checkbox (represented by an 'empty box' ![]() icon) to select your desired trade.
icon) to select your desired trade.
Please note that you cannot add trades into a parent portfolio. This is because a parent portfolio is used to compute the overall performance of its sub-portfolios and must be left empty (no trades added) for this purpose.
Please also note that you cannot add a physical trade into your portfolio. Each newly created physical trade will automatically generate its own portfolio and you may add your paper trades from there.
4. Select the trade(s) to be included in the newly-created portfolio. The list includes trades that are already recorded in your account. If you want to include trades that are not found in this list, you may first input your trades under 'Paper Trade' from the navigation sidebar on the left. Otherwise, for your convenience, you may choose to create an empty portfolio first, and capture trades into it later on by directly creating new trade(s) here.
Please note that you may only select trades to be included in non-parent portfolio (sub-portfolio or standalone portfolio) only. You will not be able to add trades into a parent portfolio because a parent portfolio is used to compute the overall performance of its sub-portfolios and must be left empty (no trades added) for this purpose.
You may use the table headers to sort/filter your trades, to narrow your search. Once done, click 'Next' to proceed.

HOW TO CREATE A TERM CONTRACT
You can create a term contract to manage and monitor your positions, inventory and P/L easily in MAF Cloud.
All the steps in creating physical trade is the same using SPOT (Contract Type), the only difference is deciding whether you want to add the trade as part of the TERM contract. To decide if you want to use the SPOT or TERM method, if you want the system to keep track of how much quantity has been traded and outstanding (especially when you have not received the subsequent contract yet and is unsure of the actual quantity and price etc) for that contract, then you select TERM. So if you allocate the trade to the term contract, the system will accumulate the quantity into the traded quantity and reduce outstanding quantity accordingly. The outstanding quantity determines the quantity that has not been fulfilled for the contract.
Note: You can choose not to use the TERM method, but you may not be able to know if the main contract has been fulfilled/completed and may need to manually calculate the total quantity to determine its fulfilment.
To access the 'Physical Trade' page, click 'Trade' from the navigation sidebar on the left, followed by 'Physical Trade'.
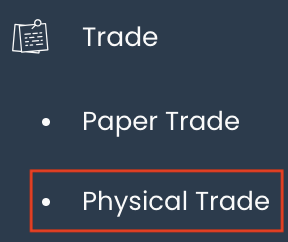
TABLE OF CONTENTS:
Creating Term Contract
1. Click on the 'TERMS DETAILS' tab and you will be able to view all the terms contracts stored in the table.

2. Click on '+ Add Row' at the top right corner and fill in all the cells highlighted in red to start inputting details of your main term contract. Select the contract as "PURCHASE" OR "SALE". To delete unnecessary row(s), tick the checkbox of the row and click 'Delete Row' at the top right corner above the table.

For more details about the definitions of each field, please refer to List of Definitions: Trades.
3. Once you're done filling in the details, click on 'Save Term(s)' at the bottom left corner of the page and your term contract details will be saved successfully.
4. You are now ready to key in details to fulfil your term contract. Click on the 'TRADES' tab at the top left corner of the page, followed by '+ New Trade' at the top right corner of the page.

5. Only items with * are compulsory fields, you may keep the rest of the fields empty if not required. Fill in 'Deal No.', 'Contract ID' and 'Trader' as necessary.
Change 'Contract Type' to "TERM" and the 'Terms Contract Details' section will appear.
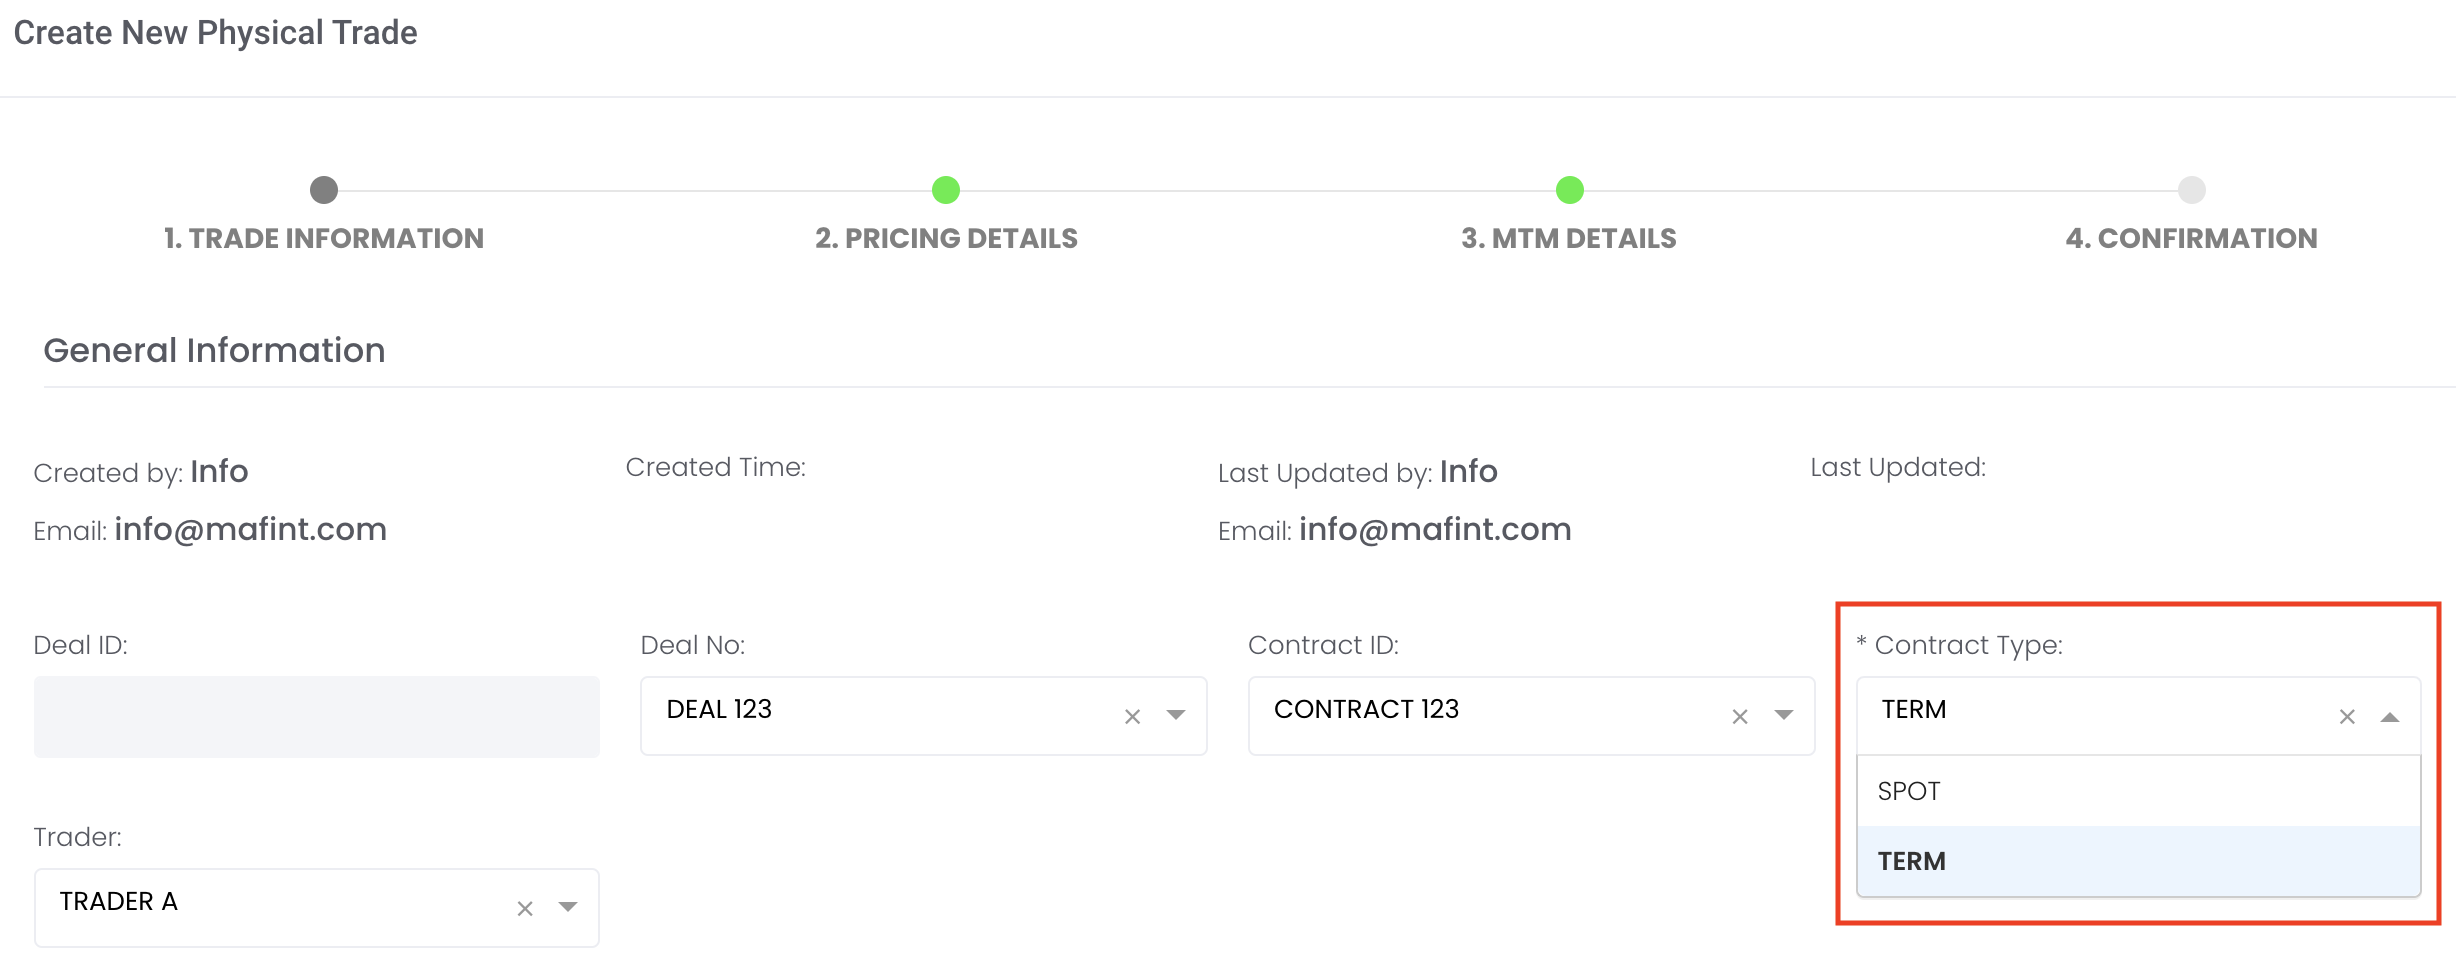
You may refer to List of Definitions: Trades for the definitions of all the fields.
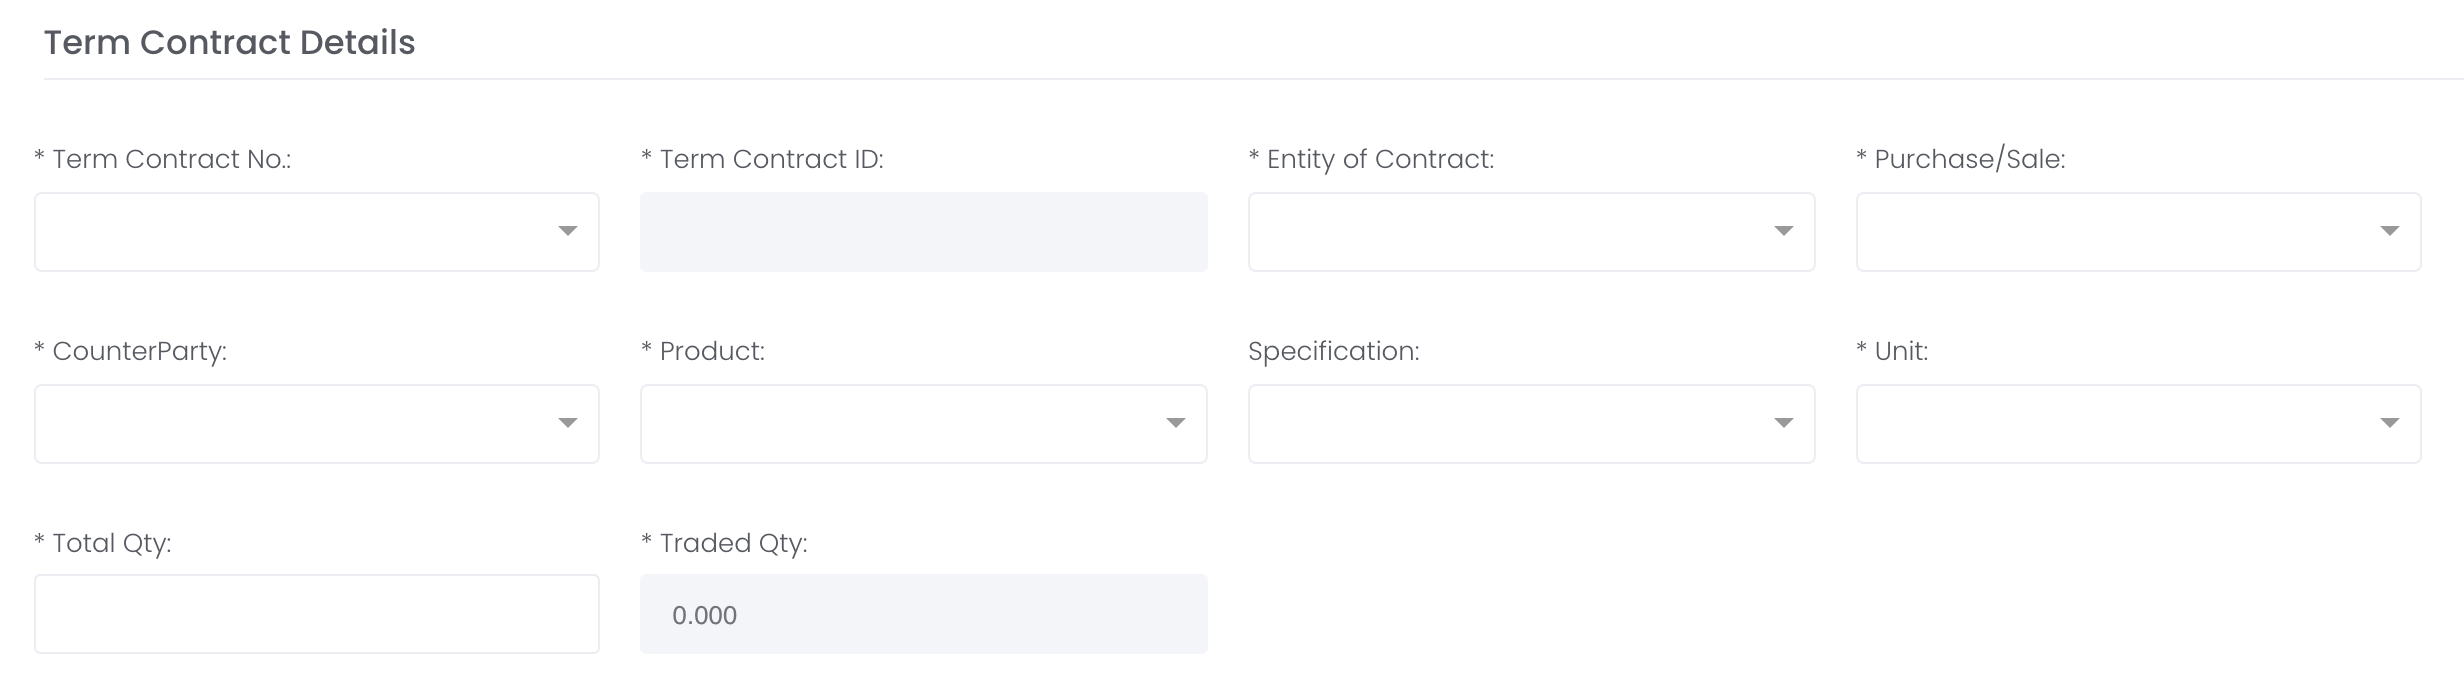
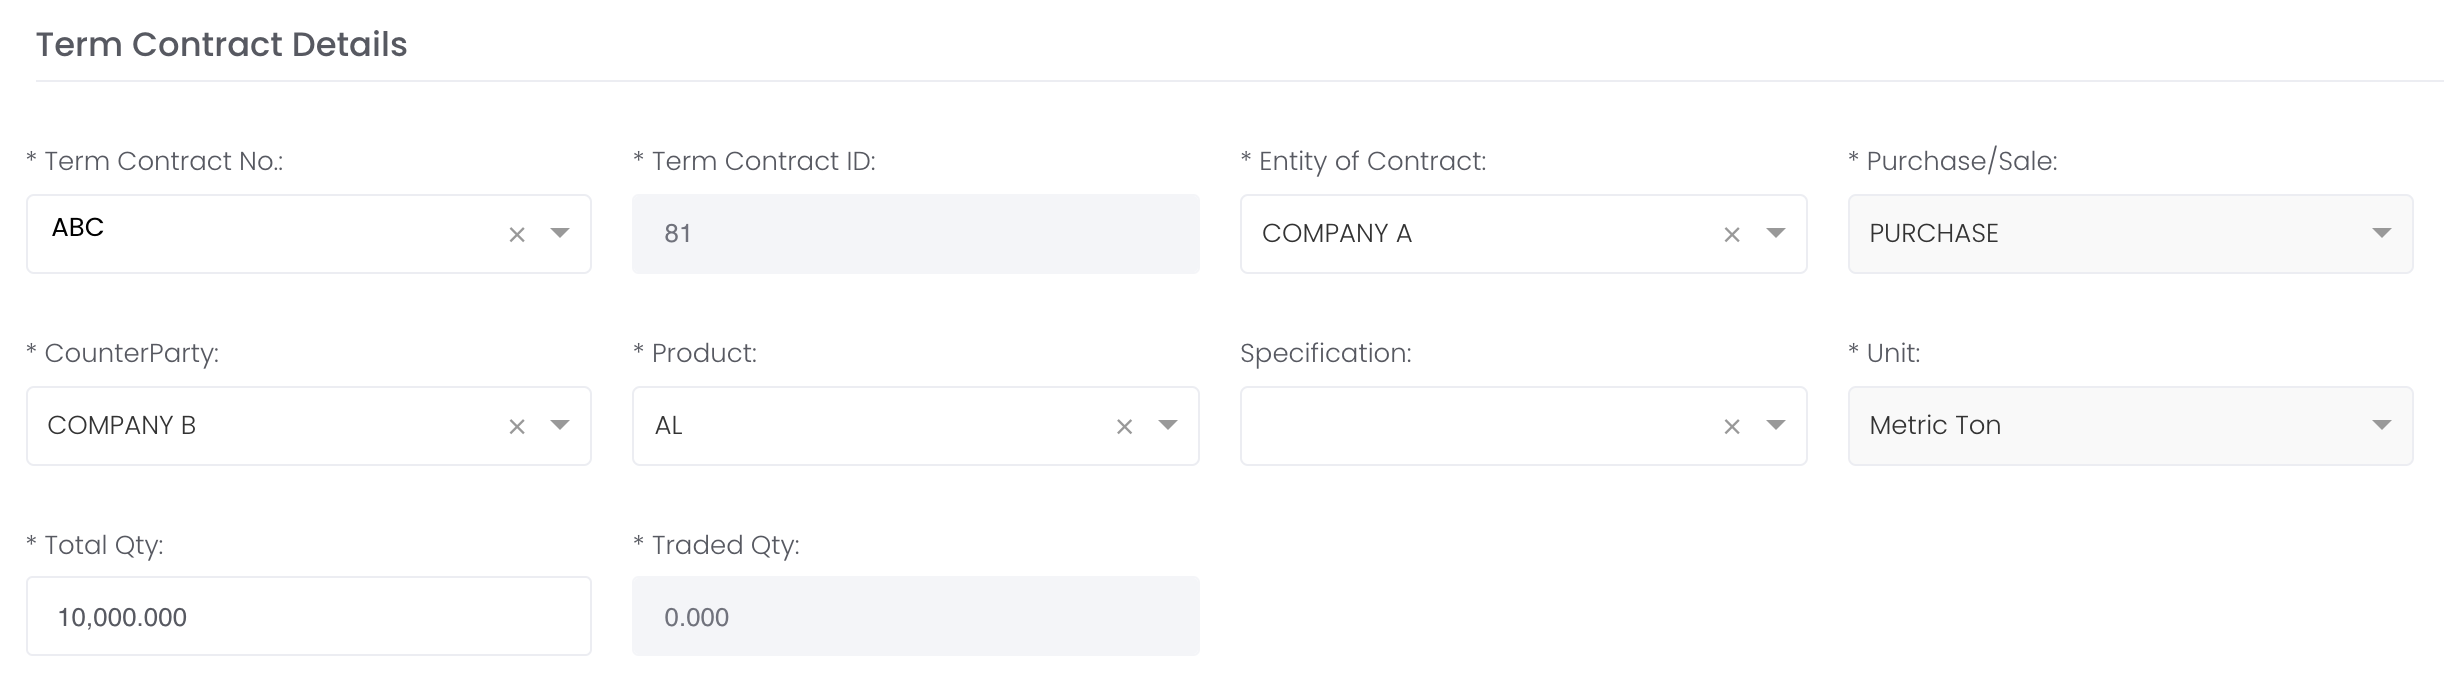
6. Under 'Term Contract No', select your desired term contract number (as input by you earlier), and all the details you have input in Step 2 will automatically be filled. Alternatively, you may key in the new term contract details here, and the table in 'TERMS DETAILS' tab (mentioned in Step 1) will automatically be updated.
*You may keep the optional fields (without *) empty if not required to be filled.
You may refer to List of Definitions: Trades for the definitions of all the fields.
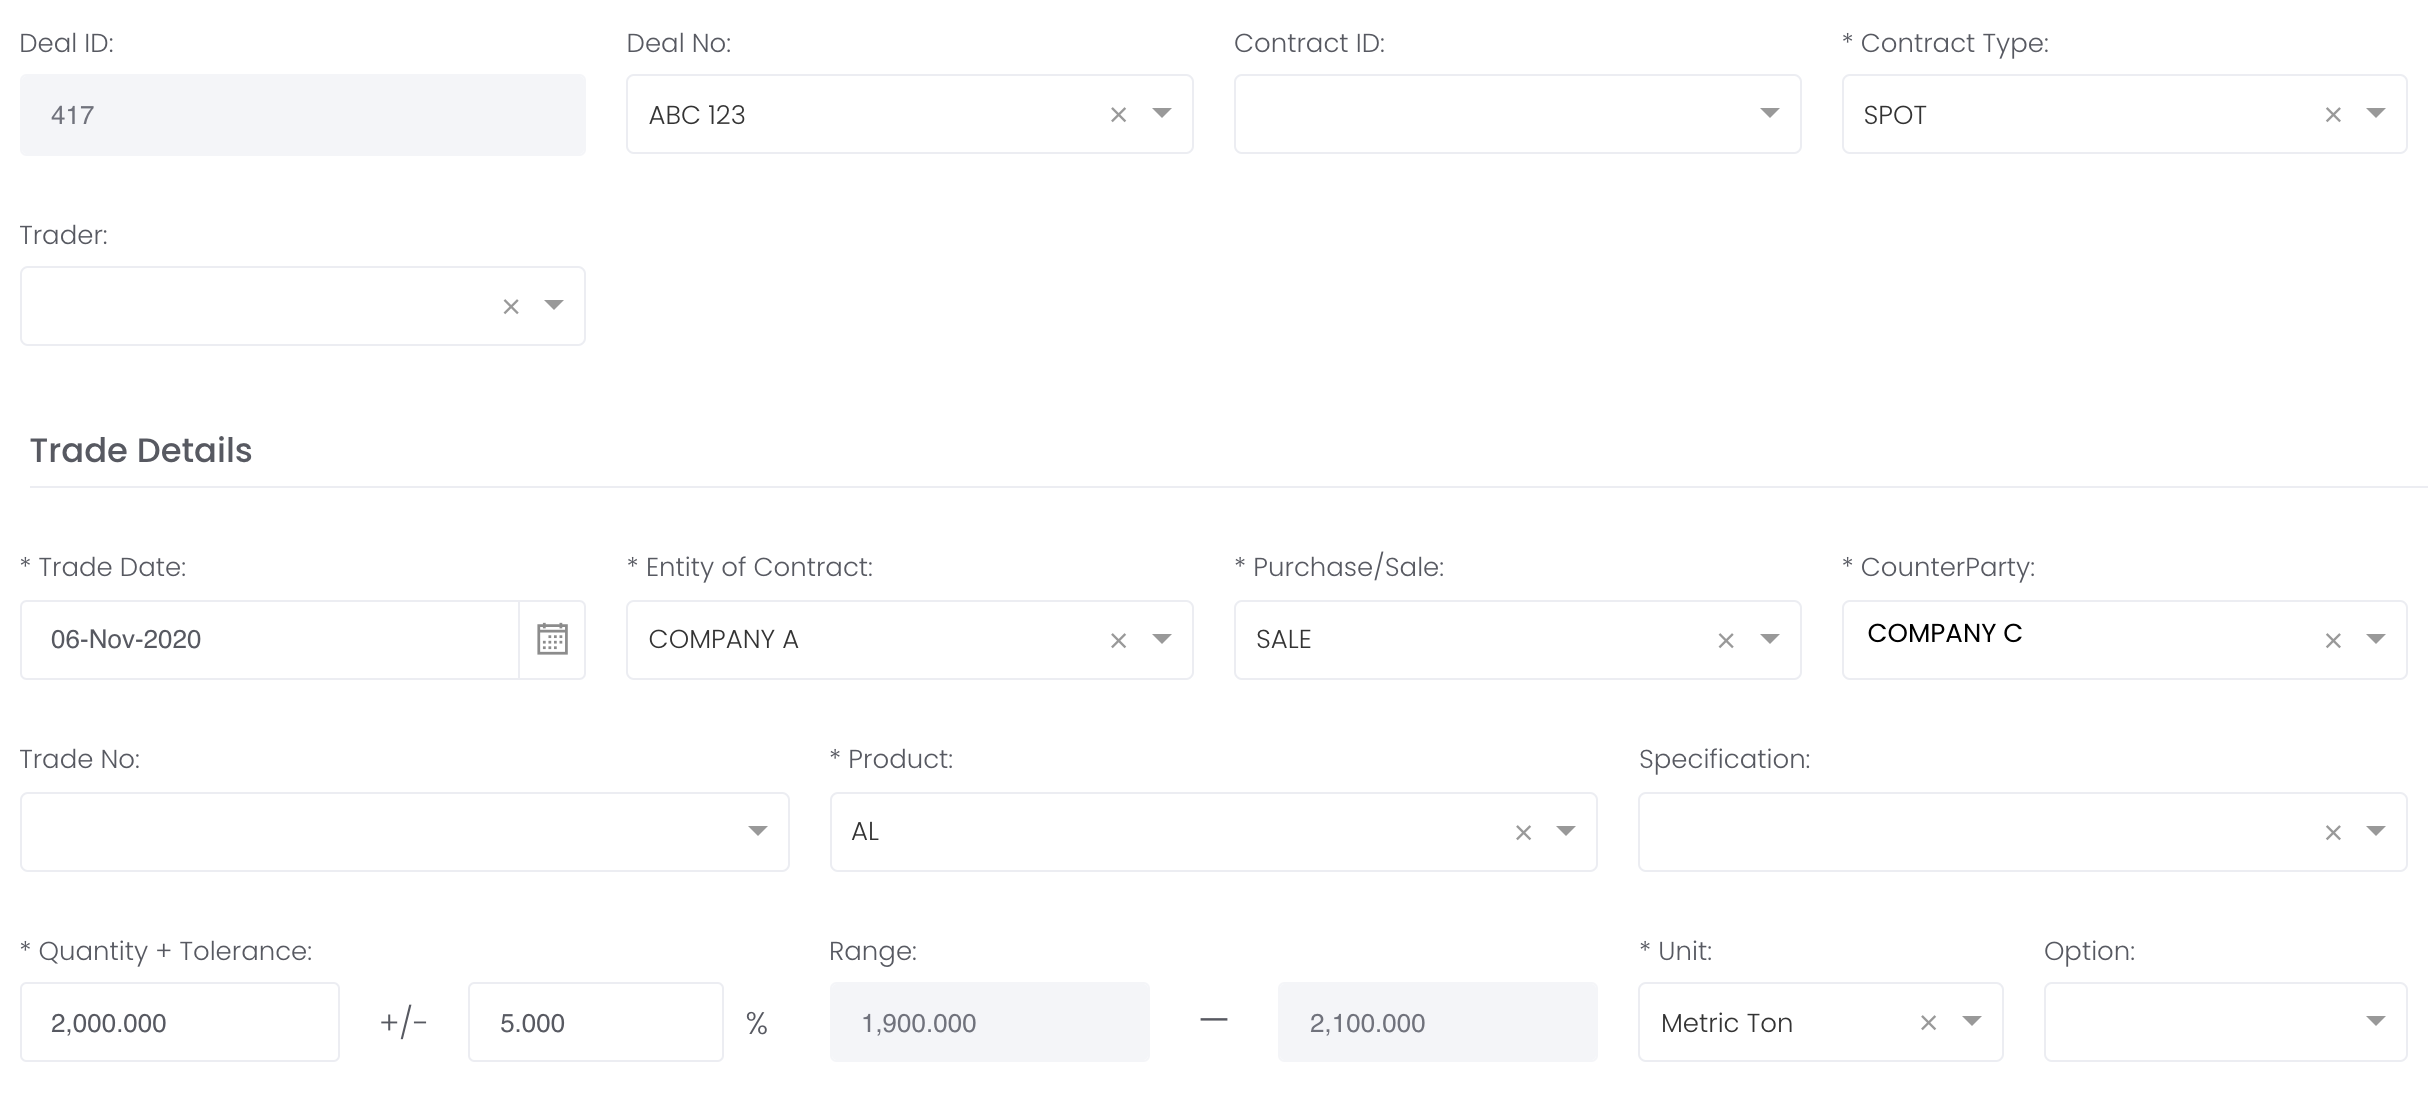
7. Proceed to fill in the following details:
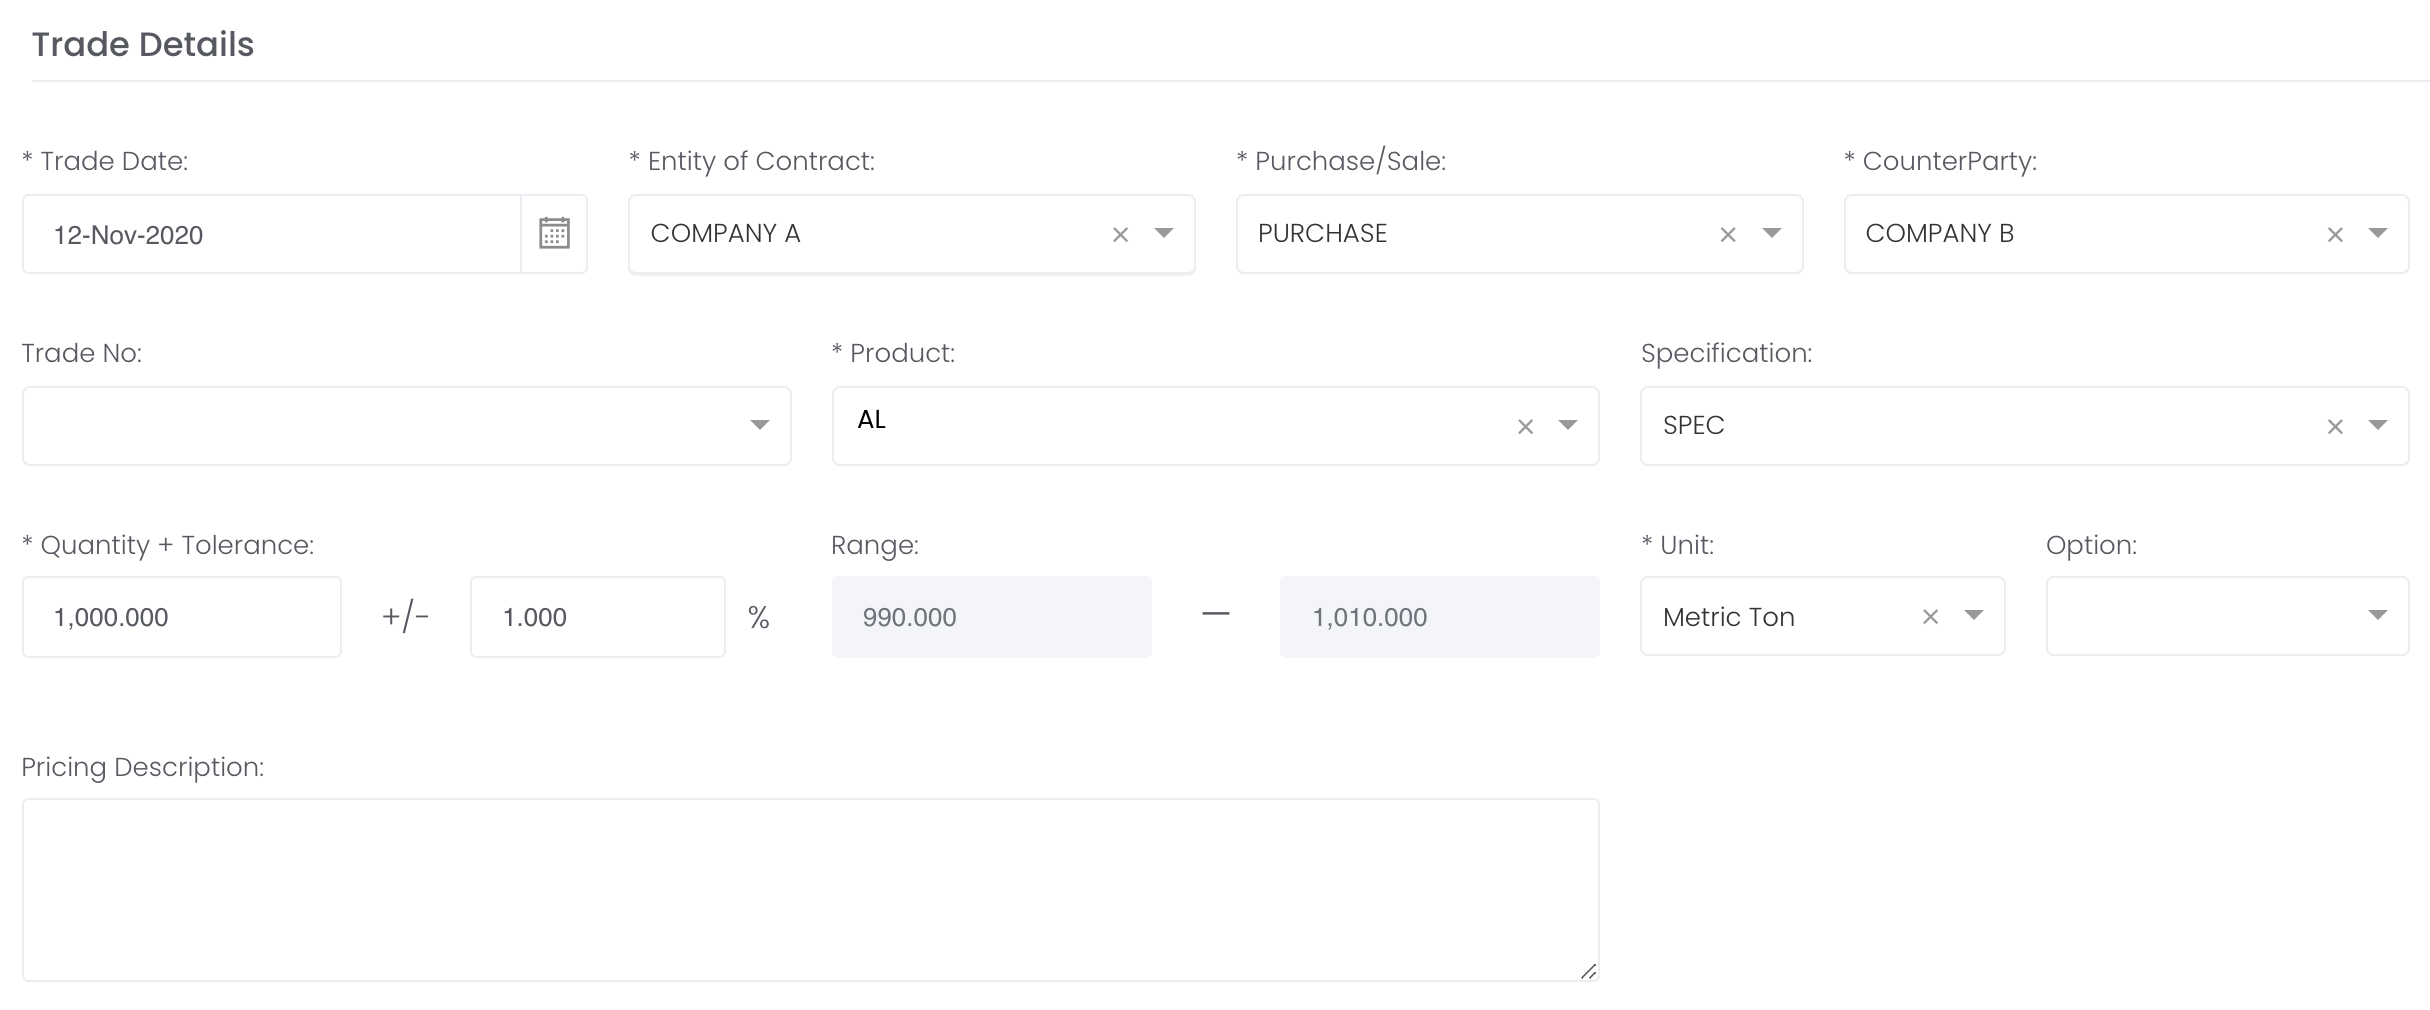
Trade Details
This section is to record the trade details of the physical trade. 'Trade Date' is today's date by default; 'Entity of Contract', 'Purchase/Sale', 'Counterparty', 'Product', 'Specification' and 'Unit' will be automatically filled (as mentioned in Step 6).
Fill in the 'Quantity' to determine the purchase or sale quantity of the trade. If you fill in 'Quantity' followed by 'Tolerance' (+/- %), the 'Range' will be calculated automatically. For example, if 'Quantity' is "1,000" and 'Tolerance' is +/- "1%", the 'Range' is "990" and "1,010". Please note that the 'Range' is for your reference only and will not be involved in any computations.
*You may keep the optional fields (without *) empty if not required to be filled.
You may refer to List of Definitions: Trades for the definitions of all the fields.
Payment Details
This section is to record the payment details of the physical trade. Only 'Settlement Currency' is a compulsory field and "USD" is the default currency.
*You may keep the optional fields (without *) empty if not required to be filled.

You may refer to List of Definitions: Trades for the definitions of all the fields.
Other Details
This section is to record the other details of the physical trade.
*You may keep the optional fields (without *) empty if not required to be filled.
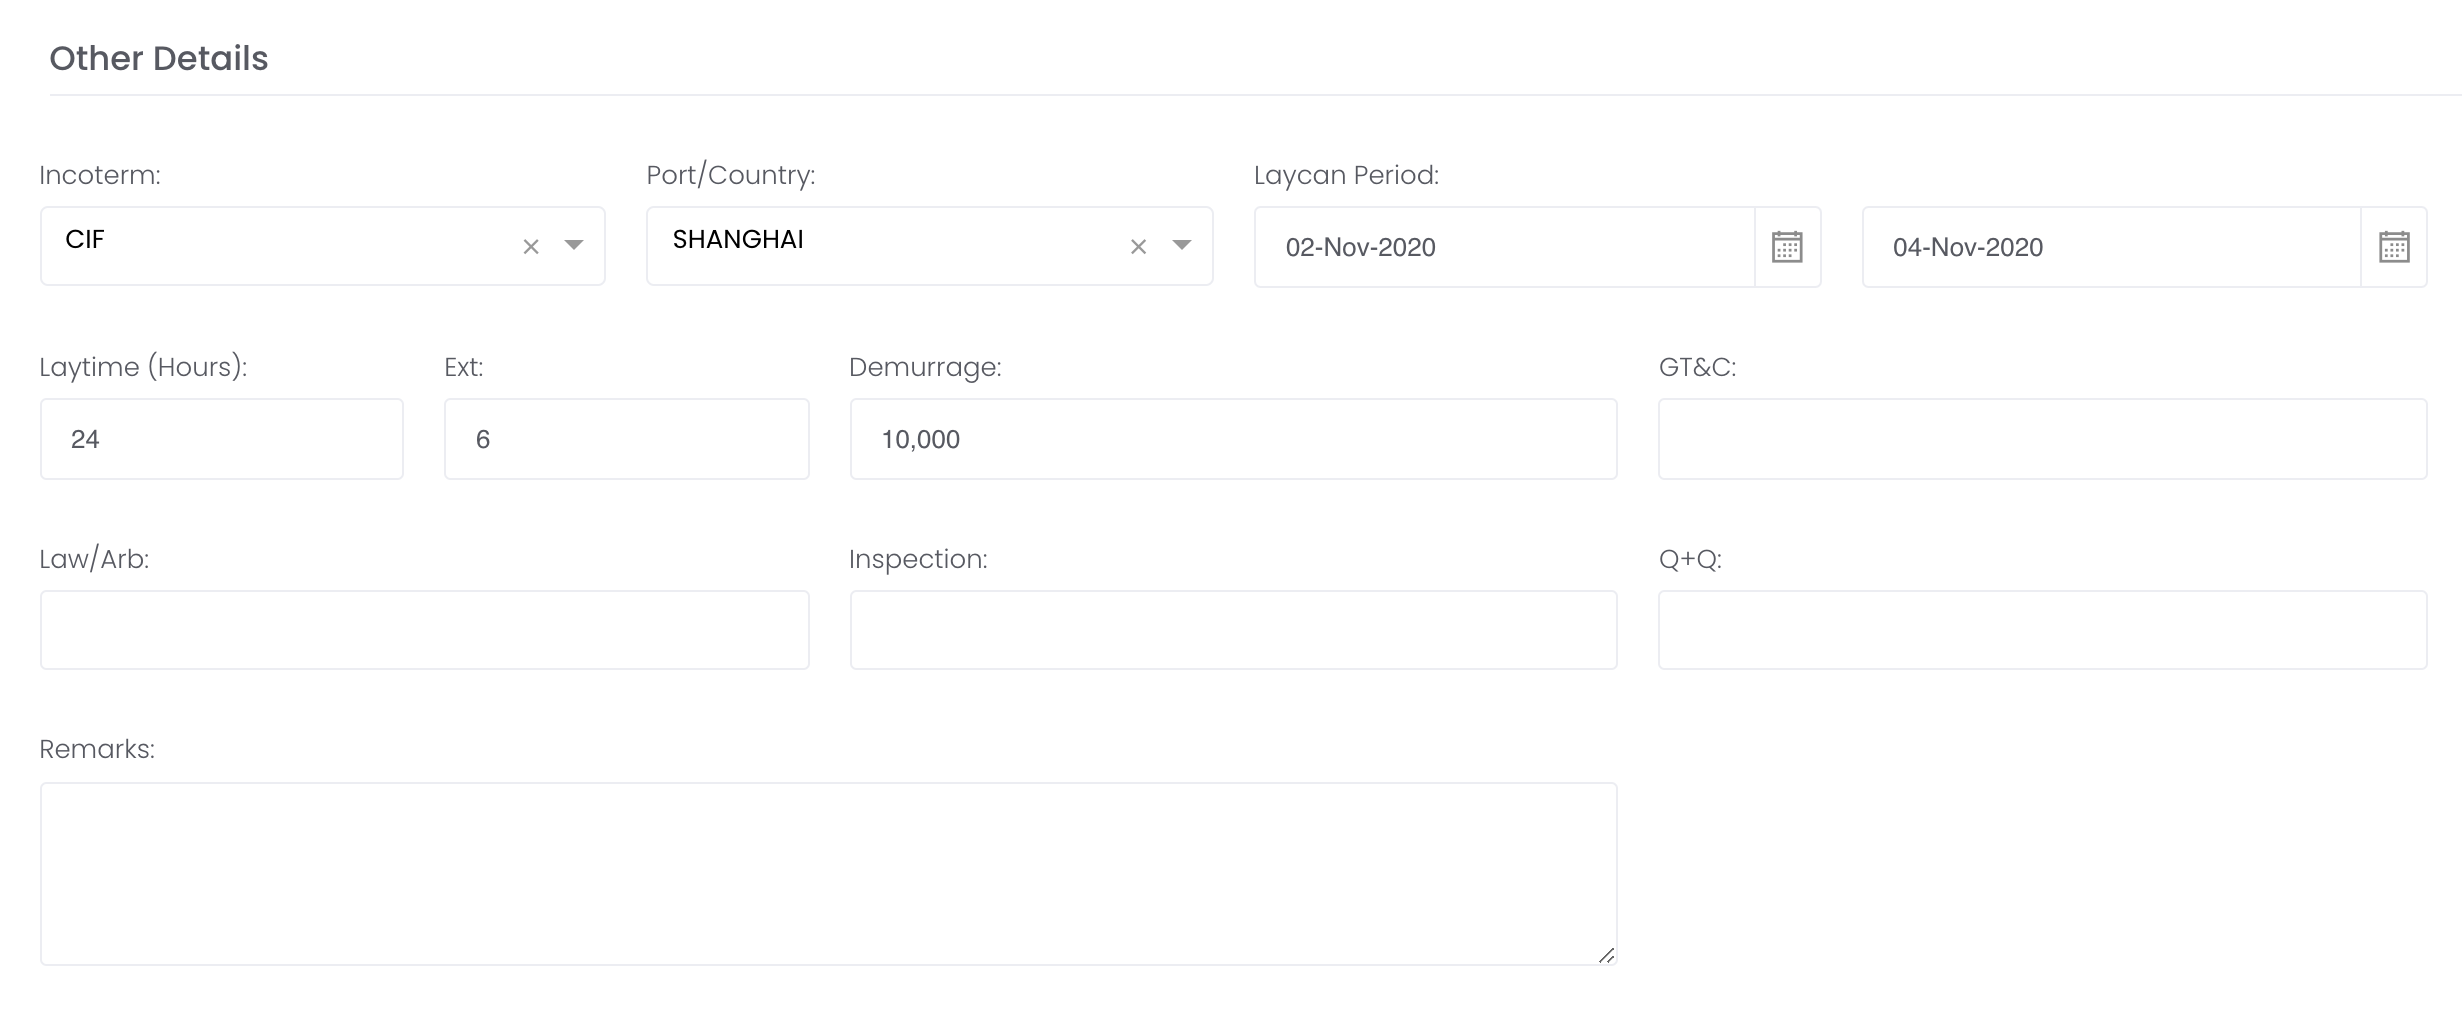
You may refer to List of Definitions: Trades for the definitions of all the fields.
Click 'Next' to proceed.
8. Click to follow the steps for Pricing Details and MTM Details. Review the summary and click 'Submit' to confirm the details of your trade. Otherwise, click 'Back' to edit the details.
Creating a physical trade will automatically generate a deal and portfolio (containing the associated paper and physical trades) to allow you to monitor your profit and loss, and risks efficiently.
9. You can add additional trades to:
a. Complete/Fulfil your term contract by creating new trades with new traded (purchase/sold) quantity to fulfil the total quantity of the contract. Follow Step 4 onwards, until your term contracts are fulfilled, and the 'TRADED QTY' and 'OUTSTANDING QTY' in the table in the 'TERMS DETAILS' tab will automatically be updated. Fulfilling the term contract means that when you access the table in 'TERMS DETAILS' tab, the value in 'TRADED QTY' is equal to the value in 'TOTAL QTY' and 'OUTSTANDING QTY' will be "0".
You may refer to Viewing Term Contract below for more details.
b. Close the trades in the term contract. In the 'TRADES' tab, you can click on the 'Settings' icon (represented by a 'gear' icon) of the row of the term contract in the table, followed by 'Add Deal Trade'. The 'Purchase/Sale' field will automatically be the opposite of the trade you clicked 'Add Deal Trade' on, to reflect the opposite position for your convenience, and you are free to change it as necessary. Follow through the steps, which are similar to Creating New Physical Trade(s) to close the trades and the P/L positions can be found in Managing Portfolio.
You may refer to Viewing & Closing Deals below for more details.
Viewing Term Contract
1. Click on the 'TERMS DETAILS' tab at the top left corner of the page to view all the details of the term contracts and whether they have been fulfilled, from 'TOTAL QTY', 'TRADED QTY' (quantity fulfilled so far) and 'OUTSTANDING QTY' (quantity unfulfilled). Scroll down to the 'Physical Trades List' table in the page to view the details of the individual trades.
Viewing & Closing Deals
1. Click on the 'DEALS' tab at the top left corner of the page to view the details of your deal trades.
For example, in this case, 4,500 units ('OUTSTANDING QTY') have been purchased ("PURCHASE") and are outstanding as they have yet to be sold.

2. To close the trade, follow Step 9b above (Creating Term Contract). In this case, the 'Purchase/Sale' field will be "SALE" and 'Quantity' will be "2,000" to reflect the sale position of the trade. Follow through the steps and click 'Submit' to save your trade.
3. Click on the 'DEALS' tab at the top left corner of the page to view the details of your deal trades.
Following the same example in Step 1 & 2, 2,000 units have been closed/sold and the 'OUTSTANDING QTY' will reflect the remaining outstanding quantity (4,500 purchased quantity - 2,000 sold quantity).

4. Follow through the same steps until all quantity are purchased/sold to close the contract and 'OUTSTANDING QTY' will become "0".
Functionality
Please refer to Table Settings for table functionalities.
Definition of Terms
Please refer to List of Definitions: Trades.
Click to access: