This function provides you with the flexibility to control and manage your data (with drop-down lists) in the 'Demurrage Claims' table and 'Demurrage Calculations' page. Some examples of data with drop-down lists include 'Company Name' and 'Company Type'.
You may choose to:
- Utilise this 'Company Data' function and add items into the drop-down lists directly in the 'Company Data' page, which ensures standardisation and accuracy of inputs (especially when the demurrage data is utilised and shared among other group members (with the Enterprise Solution Plan)). However, you will not be able to freely add new items into the drop-down lists in the 'Demurrage Claims' table and 'Demurrage Calculations' page. You can only add, edit or delete the data in the drop-down lists in the 'Company Data' page, OR
- Not utilise this 'Company Data' function and add any new items into the drop-down lists directly in the 'Demurrage Claims' table and 'Demurrage Calculations' page, but you may lose data standardisation control.
Please note that for all company data management tables, any user besides company profile creator can input and edit the data, and the data will be reflected in all users' table within the group.
To access this page, click 'Settings' from the navigation sidebar on the left, followed by 'Company' and 'Company Data'.
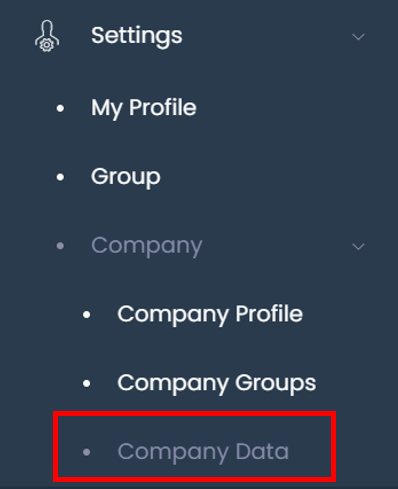
TABLE OF CONTENTS
...
'Entity Management' Table
To access this page, click 'Settings' from the navigation sidebar on the left, followed by 'Company' and 'Company Data'.
In the 'Entity Management' tab, you may key in inputs to be displayed in the drop-down lists of 'Company Name', 'Company Type' and 'Broker' in the 'Demurrage Claims' table and 'Demurrage Calculations' page.
- Please note that 'Company Name' is linked to the 'Counterparty' in Physical trade page, so if Company Name has been input in Company Data>Entity Management table, it will be linked to the Counterparty in physical trades page, so the lists of Counterparty will only be limited to the list input in Company Data>Entity Management table; pertaining to the Counterparty in:
...
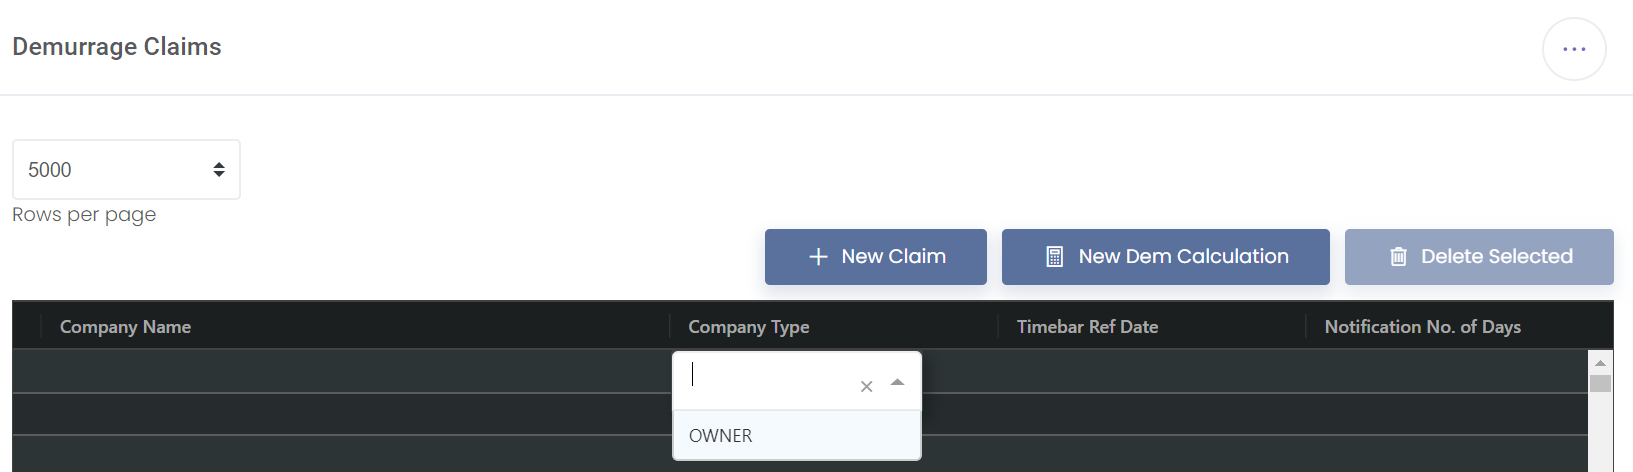
Please note that the 'Company Name' and 'Company Type' are independent items. That is, keying in 'Company Name' (eg "Owner1"), followed by 'Company Type' (eg "OWNER") will not link these 2 items together. So if you key in "Owner1" under 'Company Name' in the 'Demurrage Claims' table, 'Company Type' will not be automatically be filled in as "OWNER". This allows you to freely select the appropriate 'Company Type' for the 'Company Name'.
...
"Owner1" will be added into the drop-down list of 'Company Name' while "OWNER" will be added into the drop-down list of 'Company Type', in the 'Demurrage Claims' table and 'Demurrage Calculations' page.

...
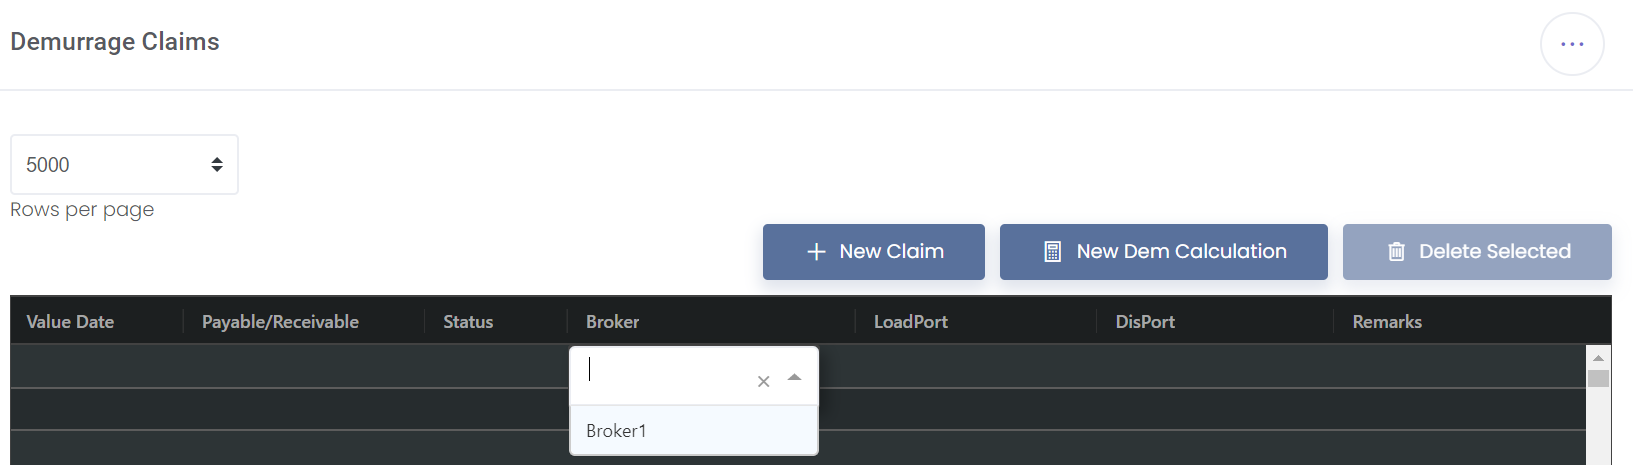
Example: Broker
For example, key in "Broker1" under 'Company Name' and select "Yes" from 'Broker' drop-down list, and click 'Save Data' to save your table.
...
'Broker1' will be added into the drop-down list of 'Broker' in the 'Demurrage Claims' table.
...
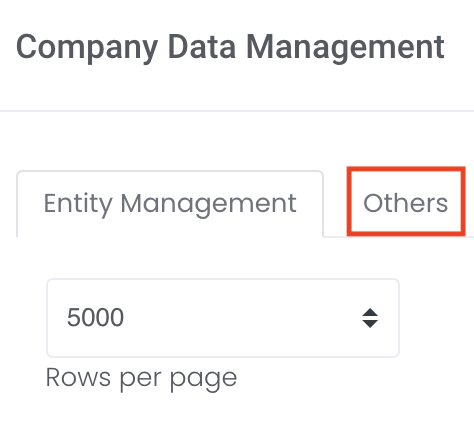
'Others' Table
To access this page, click 'Settings' from the navigation sidebar on the left, followed by 'Company' and 'Company Data'.
In the 'Others' tab, you may key in inputs to be displayed in the drop-down lists of 'Name' and 'Category' in the 'Demurrage Claims' table and 'Demurrage Calculations' page.
The 'Category' is fixed and includes "Group", "Type of Claims", "Inco Terms", "Payable/Receivable", "Pairing", "OPS Performance", "Port", "Port Type", "Status" and "Vessel".
Inputs in 'Name' will be added into the drop-down lists of the 'Category' that you have selected.
To create a new row, click on the '+ Add Row' button located above the table.
...
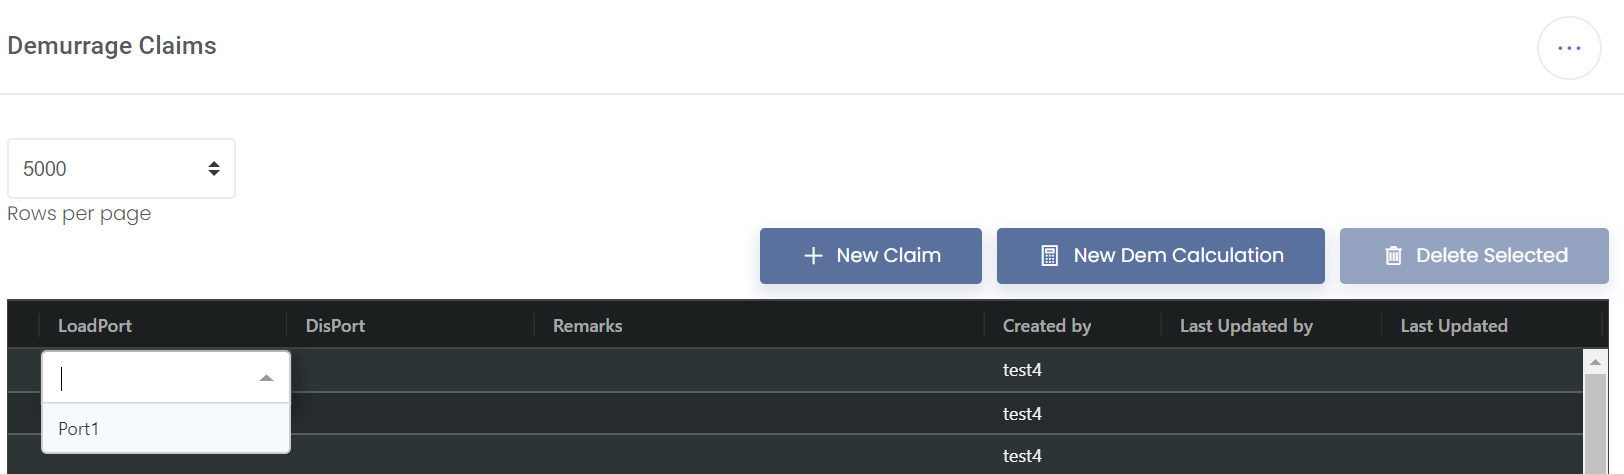
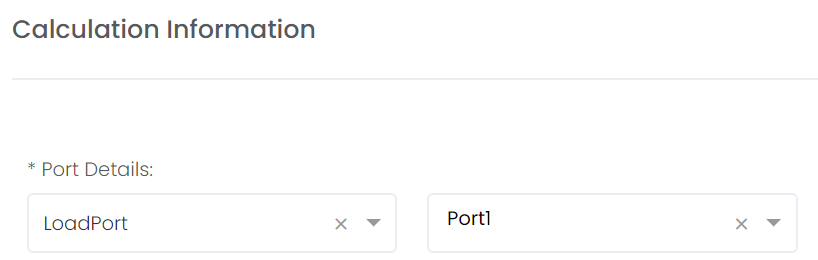
"Port1" will be added into the drop-down list of 'Loadport/Disport', in the 'Demurrage Claims' table and 'Demurrage Calculations' page.
...
Example: Inco Terms
For example, you may key in "Inco1" under 'Name' and select "INCO TERMS" from 'Category' drop-down list, and click 'Save Data' to save your table.
...
'Auto Running Numbers Setting' Table
To access this page, click 'Settings' from the navigation sidebar on the left, followed by 'Company' and 'Company Data'.
In the 'Auto Running Numbers Setting' tab, you are able to establish an auto running number rule to organise your physical trades (contract number), payment record (invoice number) and shipping instructions (shipping instructions number). You will first need to establish certain rules for the system to generate your contract number, invoice number and shipping instructions number automatically. System will use the maximum number to generate the new auto running number, even in cases of manual-editing of auto running number
To create a new row, click on the '+ Add Row' button located above the table.
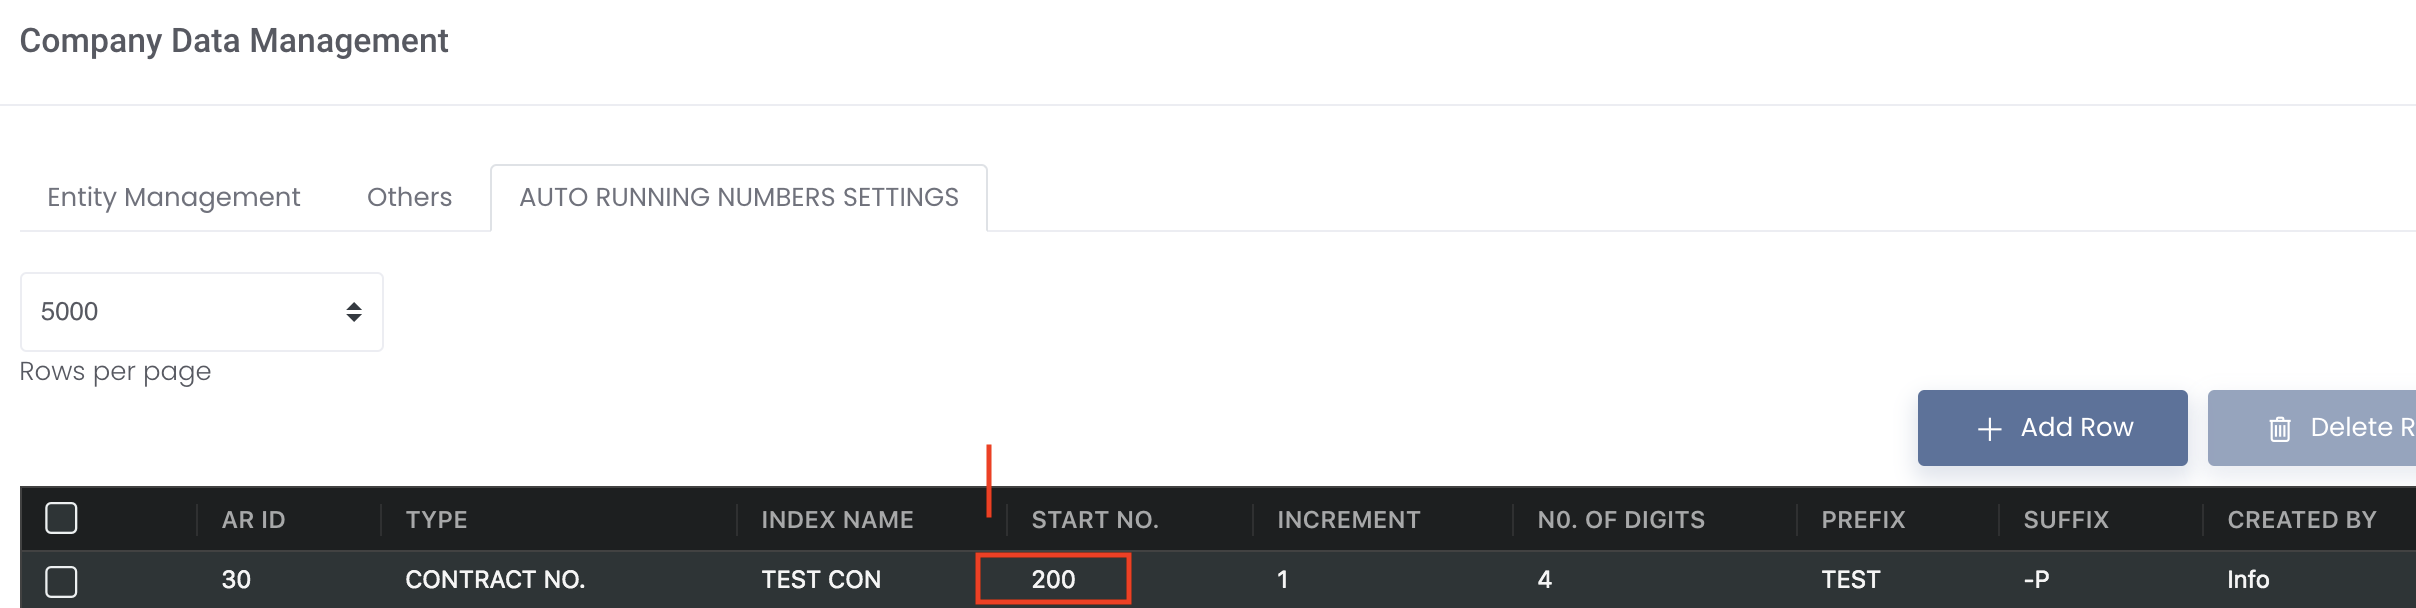
Only the 'Type', 'Index Name', 'Start No.', 'Increment' and 'No. of Digit' are compulsory items (highlighted in red) and you can only save the table after these fields are filled:
- Type: Refers to the item type that you need to establish rules to auto-generate the numbers; namely, contract number, invoice number and shipping instructions number.
- Index Name: Name of the established rules for the item type. You will be required to select the index name under 'Auto Contract No', 'Auto PR No.' and 'Auto SI No' to inform the system to auto-generate the numbers based on the rules tagged to the index name. The rules to set are as follows:
- Start No.: The start of the index number. For example, if you key in "1", the index number will start running from "1".
- Increment: An increase or addition from the previous index number. For example, if you key in "1", the next index number will increase by "1", so the next auto running number will be "2","3" etc. If you key in "2", the next auto running number will be "3", "5" etc.
- Number of digits: Number of digits for the index number. For example, if you key in "5", the index number will have 5 digits.
- Prefix: The first letter of the index number. For example, if you key in "MAF-", the index number will start with "MAF-". When Prefix is edited for the same Index Name, the auto running number will restart according to the Start No. setting (eg if start number is 1, it will start from 1 instead of the next auto running number before Prefix is changed), unlike Suffix. However, if you change the Prefix back to previous one, the system will be able to detect and continue the latest auto running number for the previous Prefix.
- Suffix: The last letter of the index number. For example, if it is a purchase contract and you key in "-P", the index number will end with "-P". Suffix can be edited for the same Index Name and the auto running number will be generated as per normal accordingly with the edited suffix, unlike Prefix.
Based on the above example, the contract number will be "MAF-00001-P" and the next contract number will be an increment of "1", which will be auto-generated as MAF-00002-P.
To delete a row, tick the checkbox of the row and click on the 'Delete Row' button located above the table. You may also select multiple rows to delete.
Note: You are highly encouraged to use either the auto or manual method when generating your 'Contract Number'. Otherwise, the system may not be able to detect which manual contract number has been used and will return a duplicate error message if your manual contract number clashes with the next auto-running number. For instance, if your next auto-running number is 50 and you have already input a manual contract number of 50 previously, the system may not be able to detect the manual contract number and will run the auto-running number as per usual, and then return a duplicate error message since 50 has been used. To resolve this, you can go to the Auto-Running Number Setting table and change the 'Start No.' to 51 or other numbers to skip the 50 that already exists. (Fret not! If you want to adjust your contract numbers midway intro creating your trades, you can just replace the 'Start No.' with your desired number and proceed as per normal. This table only helps to generate contract numbers in auto-running number and will have no impact on your already-created trades' contract number.)
Note: Any changes made to the 'Auto Running Numbers Setting' table will only be reflected on the next invoice created; changes will not be reflected on the invoices created before the change in the rule.
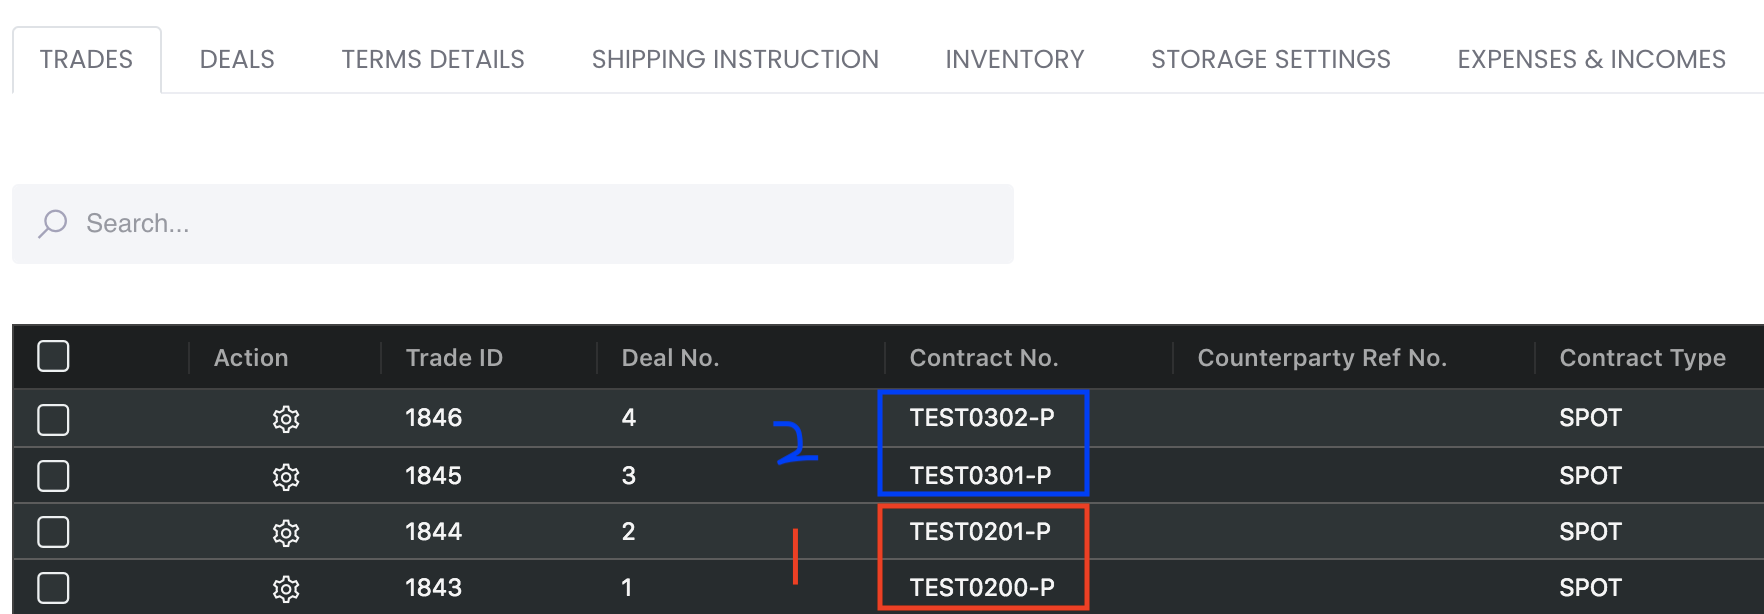
For example, in step 1 in red - if the start number is 200 in the auto running table, the contract numbers will be generated as 200 and 201.
But if it is decided that the next contract number should be 301, then in step 2 in blue, you can just change 200 to 301, and the next contract numbers will be 301 and 302 and so on.
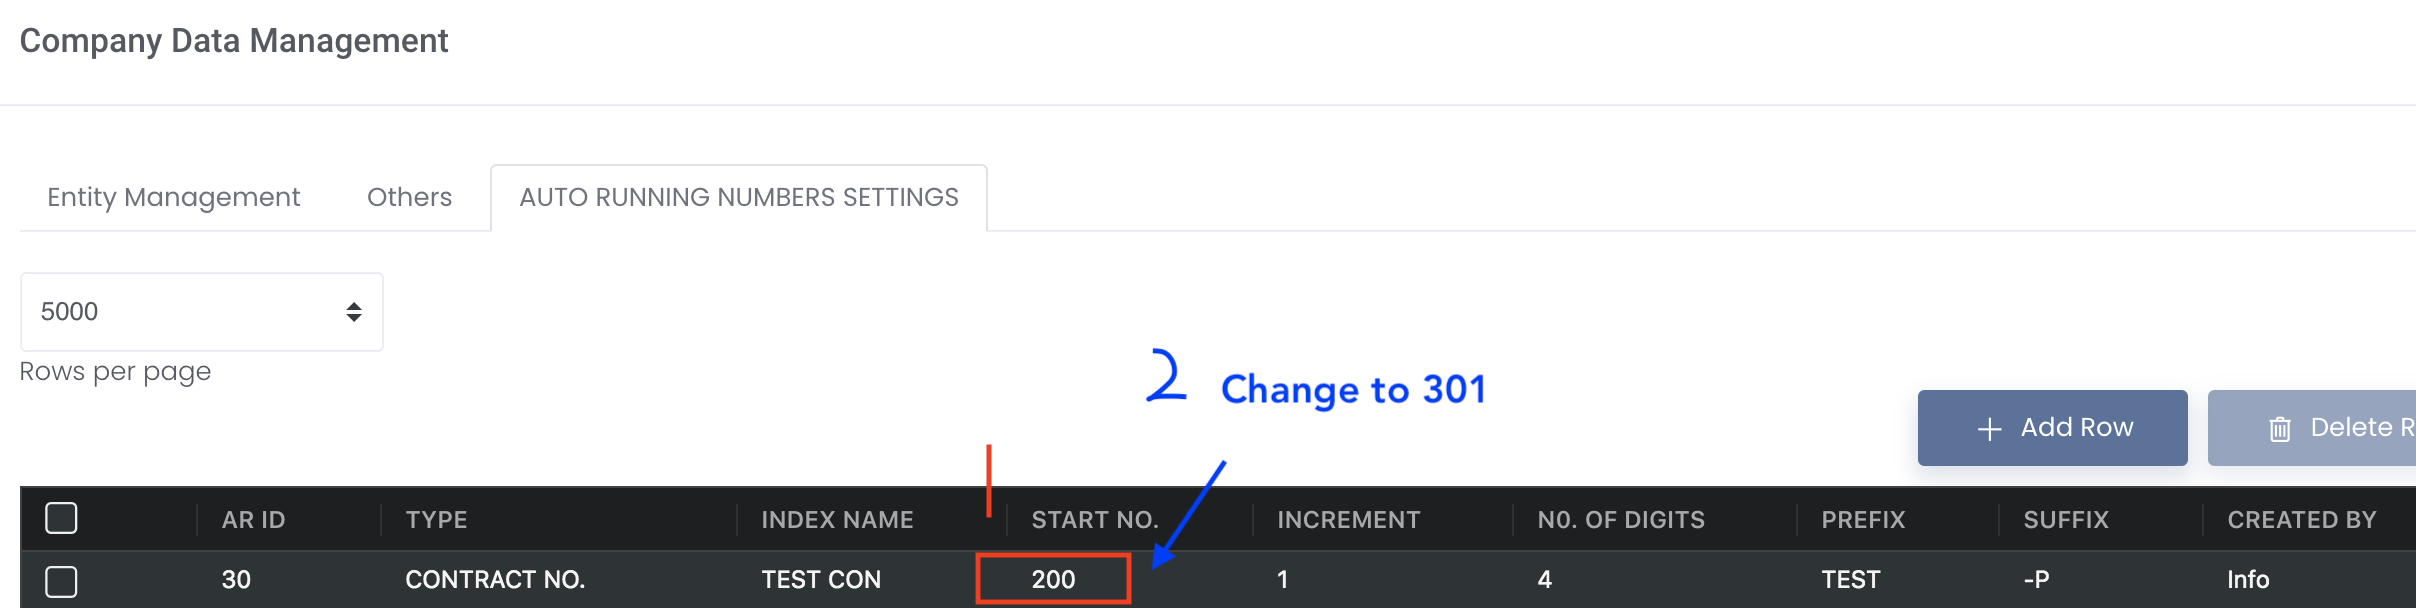
When you create new trades using the index name, the contract numbers will be created according to step 1 and 2 mentioned above. So if you want to adjust your contract numbers midway intro creating your trades, you can just replace the START NO. with your desired number and proceed as per normal. This table only helps to generate contract numbers in auto-running number and will have no impact on your already-created trades' contract number.
Logic:
- System will check the last 50 running numbers for the maximum number
- For example, if invoice number runs from 01 to 05, but 03 and 04 are not used. Then user continues to generate auto running from for invoice from 06 to 08 and then decides to use 03 for 1 invoice. User can auto-generate the invoice number first and change to 03. Then for the next invoice, the system will check the last 50 running numbers for the maximum number, and generate the auto running number as 09 so user can use with ease and need not manually adjust the invoice number.
- If user changes the Suffix, the next auto running number will include the next number and updated Suffix, unlike Prefix
- If user changes the Prefix, the next auto running number will restart from the setting, unlike Suffix which will continue running from the next number
...
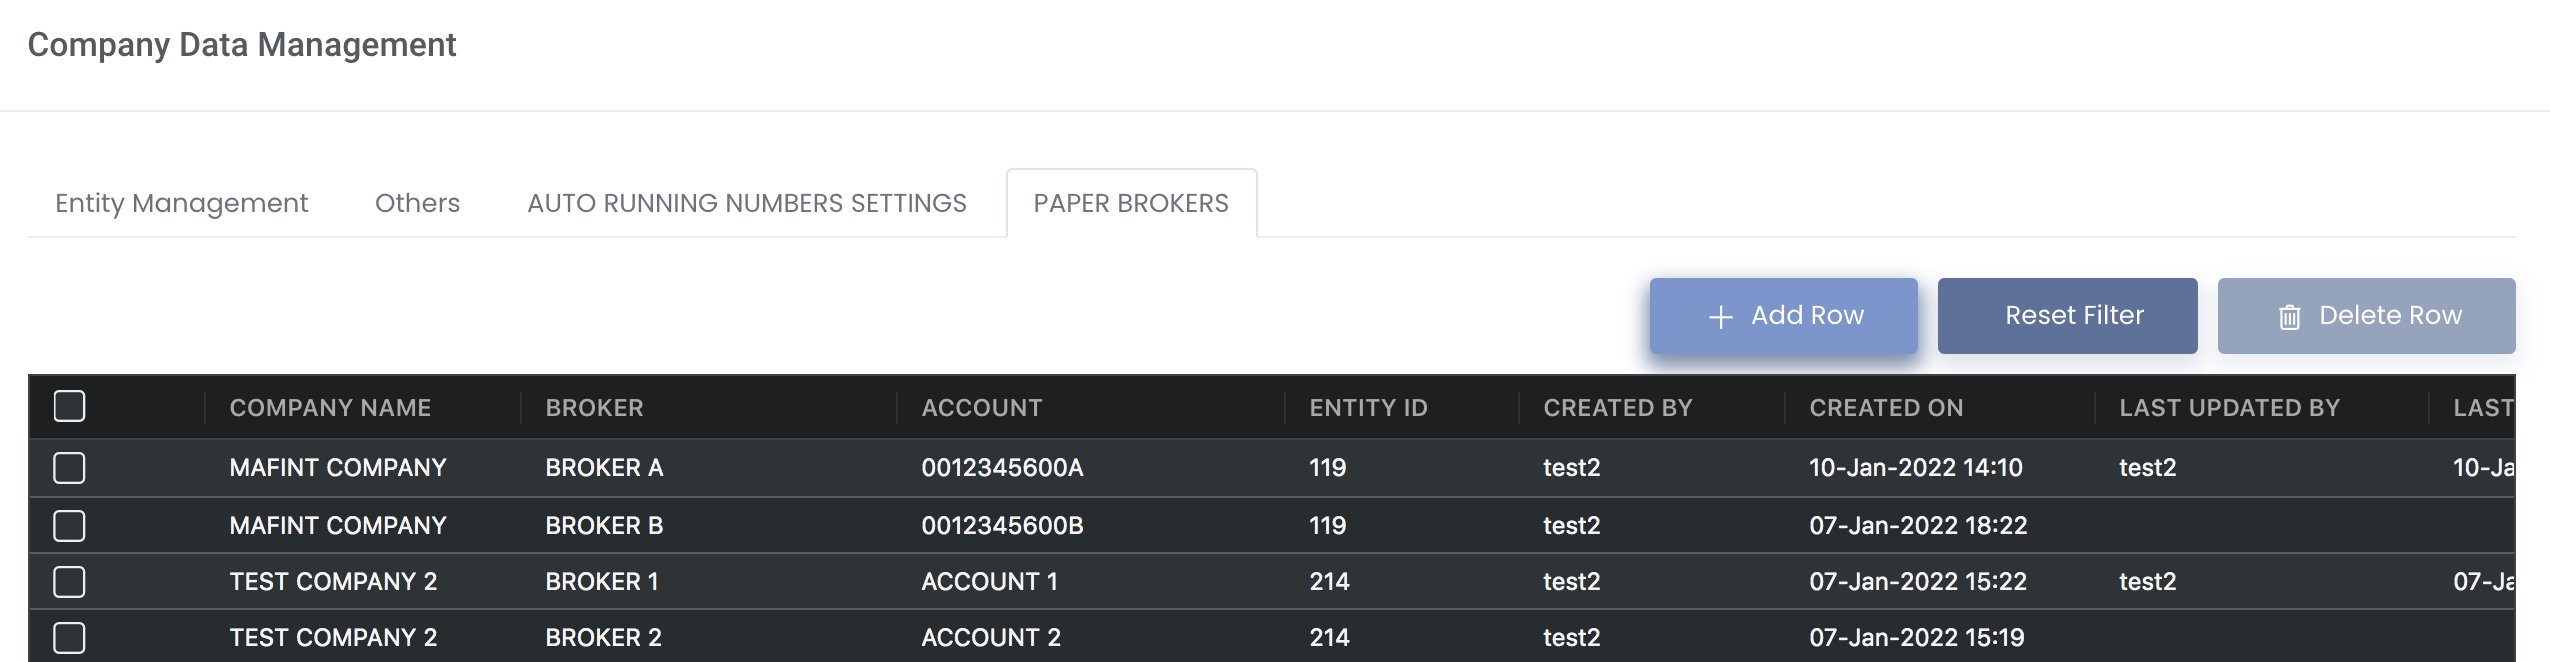
Alternatively, you may also choose not to setup and manually input the Broker, Account and Company Name in Creating Paper Trades and General Ledger page.
...
'Warehouses' Table
To access this page, click 'Settings' from the navigation sidebar on the left, followed by 'Company' and 'Company Data'.
In the "Warehouse" tab, you can input warehouse details by clicking on "Add Row", and filling in the warehouse name (WH NAME), and clicking on "Save Data" to save your data. This is necessary before you can input other warehouse details in the trade execution of each trade.
...
Click on the 'Save Data' button located at the bottom left corner of the page and a pop-up message will be displayed if successful. All inputs will be automatically reflected in the 'Demurrage Claims' table and 'Demurrage Calculations' page.
...
Click to access:
| Page Tree |
|---|
...