Sign up for a 30 days' free trial here & gain access to our Enterprise Solution Plan for free!
...
2. Sign into your account and click 'Setting', followed by 'Group' or 'Company' from the navigation sidebar on the left and you're good to go! Please refer to 545030207, Company Profile, Company Groups and Company Data to learn more!
...
The 'Groups' function allows members in the same group(s) to access, manage and share their data with one another, across different teams and departments. Depending on the access and role assigned, the members may view, edit and use the data (according to the 'Group Type', eg demurrage, trades, portfolio, general ledger etc.) of other members in the group. Members will be able to see which member has edited which input and when, by scrolling to the end of the table to view 'Last Updated by' and 'Last Updated'. This helps to improve productivity and promote team collaboration.
To access this function, you are required to purchase the Enterprise Solution Plan licence. Each licence entitles the user to invite up to 5 users (including the inviting user) into the group (multiple groups can be created). You may also purchase to combine multiple licences to invite more than 5 users into a group. For example, if you link 2 licences to a group, you can invite up to 10 users into the group. Groups can be invited to join a Company (and entitled to its benefits). Each free trial will be entitled to 1 group.
Kindly note that once all members have left the group, the data will be returned back to the Group Owner.
To access this page, click 'Settings' from the navigation sidebar on the left, followed by 'Group'.
Note: Once you set up your company profile (as Company Profile Creator), you will not be able to join other group or company group due to the different company IDs. You also cannot invite other group which has their own company profile (different company IDs) into your company.
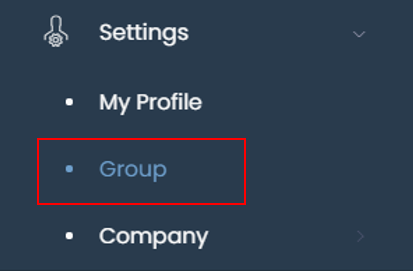
TABLE OF CONTENTS
Table of Contents maxLevel 3 minLevel 3
...
Enterprise Solution Licence(s)
...
To delete a group, tick the checkbox of the group and click on the 'Delete Group' button located above the table.
Please note that only the Group Owner can delete group (which does not have any members). Click Access Permission to learn more about the permissions.
You can only delete group with no members inside the group, so removing members in the group first is required before you can delete a group.

Click 'Confirm' when prompted and a pop-up message will appear if you have deleted the group successfully.
...
Select the email address of the licence owner in the drop-down list and the number of licences available to you and its status will be reflected automatically. Input the 'Number of Licence(s)' to link to the group.
Please note that each licence entitles you to invite up to 5 users (including the inviting user) into the group. Linking multiple licences allows you to invite more than 5 users into a group. For example, if you link 2 licences, you can invite up to 10 users into a group.
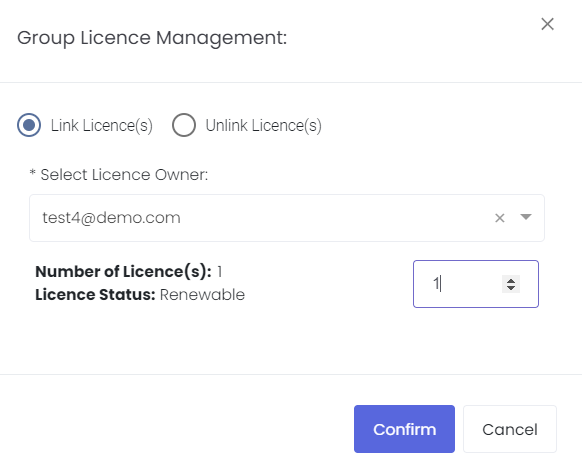
Click 'Confirm' and a pop-up message will appear if you have linked a licence to the group successfully. You will be able to manage the group and add members immediately.
...
| Function | Group Owner | Admin | User |
|---|---|---|---|
| Invite Member | Yes | Yes | No |
| Remove Member | Yes | Yes | No, but can remove self |
| Change User Role | YesYes | No | No |
| Change User Access Permission | Yes | Yes | No, unless he/she is Group Owner |
| Access to Data of Members in Group | No | Yes | Yes |
| Delete Group | Yes | No | No |
| Remove Group from Company | Yes | No | No |
| Link/Unlink Licence to/from Group | Yes | No | No |
| View Group Details | Yes | Yes | Yes |
| Edit Group Details | Yes | No | No |
...